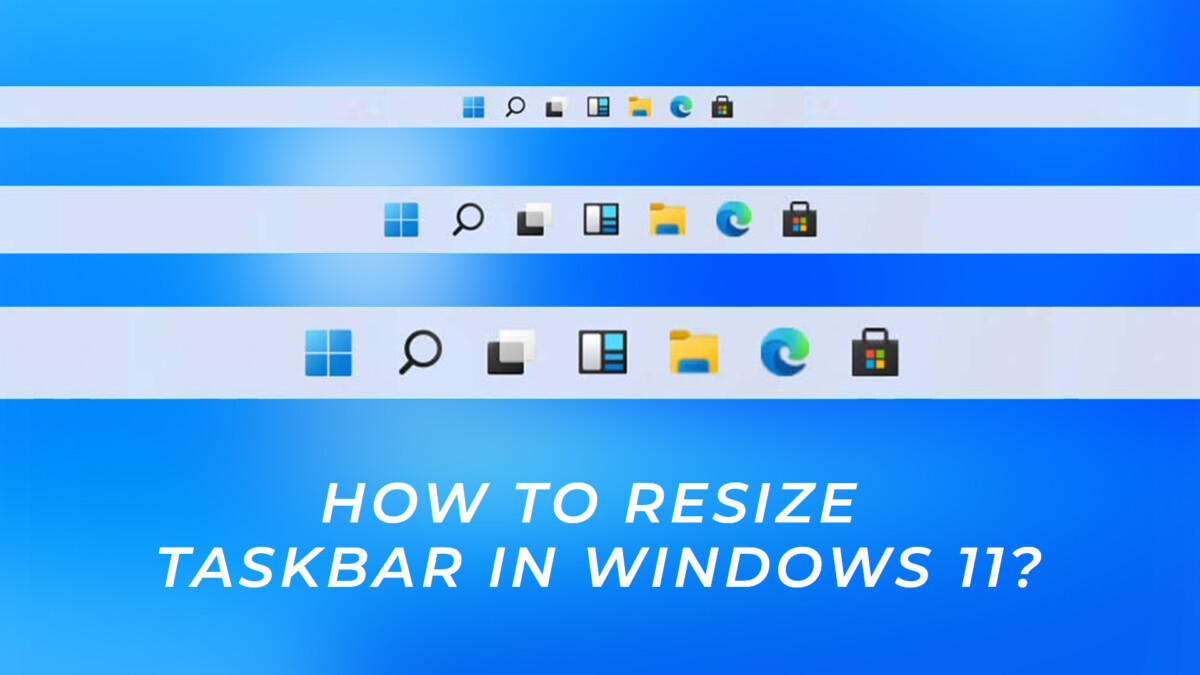
One of the most significant changes that came with the advent of Windows 11 was its centrally located start button which was placed inside a thicker taskbar. It was undoubtedly an important step towards UI modernization, but doing it at the expense of screen space was not appreciated by many.
In case you are one of them and you don’t like giving away your precious screen space, follow this detailed guide which explains how to change the size of the taskbar in Windows 11.
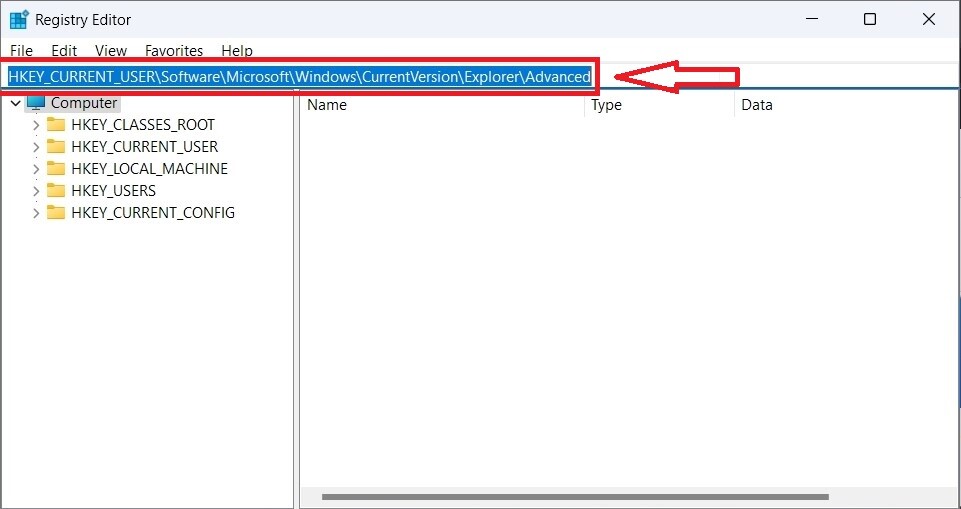
Step 1: Open Start and search for regedit. Now click on the result above to open the Registry Editor.
Step 2: Inside Registry Editor Go to the following path:
HKEY_CURRENT_USER\Software\Microsoft\Windows\CurrentVersion\Explorer\Advanced
Step 3: Now right-click on the Advanced key and select New> DWORD (32-bit) Value.
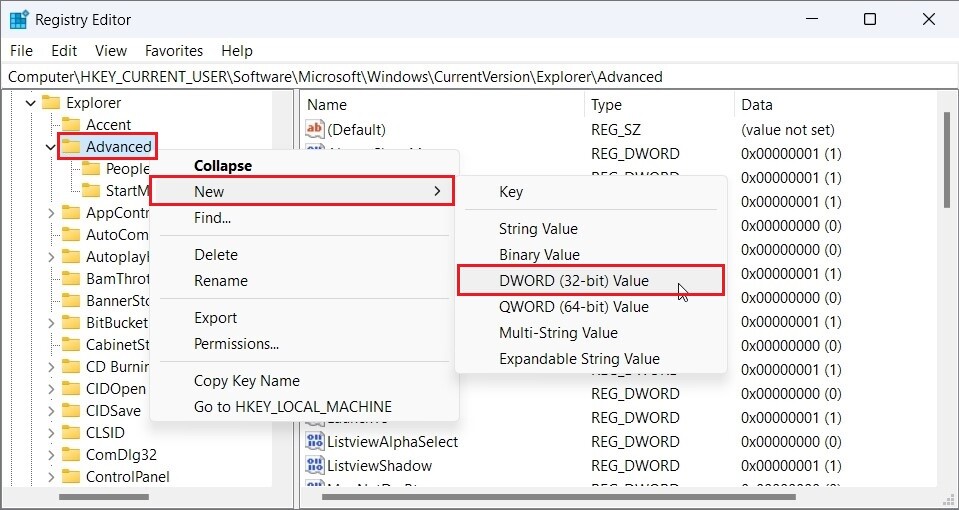
Step 4: Name the new key “TaskbarSi”, then press Enter.
Step 5: Once created, locate and double-click the DWORD you just created, then set the value data to:
- ‘2’ to change the size of the taskbar to large.
- ‘1’ to keep the default size of the taskbar.
- ‘0’ to reduce the size of the taskbar.
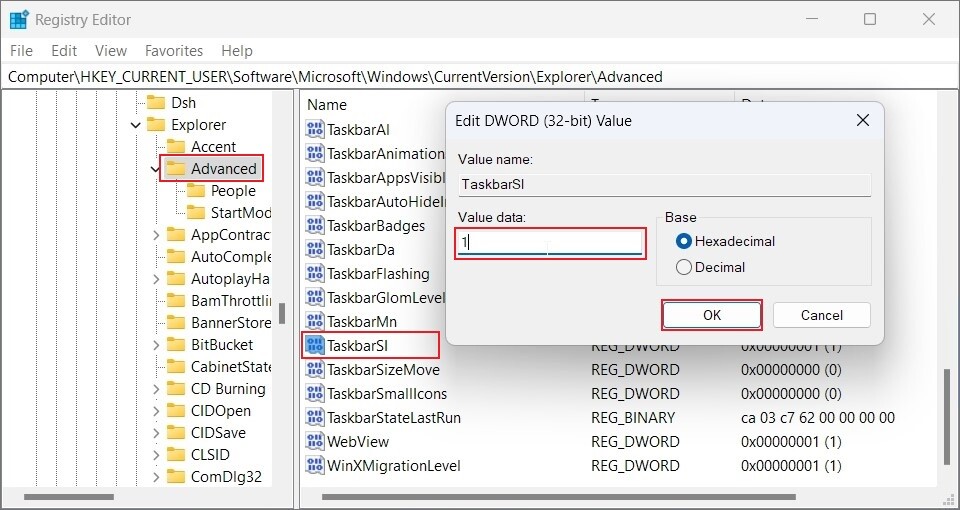
Step 5: Now click OK and then restart your PC. Once restarted, you will see a smaller or larger taskbar based on the value data you selected.
Alternatively, if you don’t like the smaller or larger taskbar, you can restore the default size quite easily. Just enter 1 instead of 0 or 2 in the fifth step or delete the “TaskbarSi” DWORD we created in steps 3 and 4, then restart your PC.